Excel build part 6- Seats, harnesses and sump guard
Swiftly after the cage was installed, the interior items followed. First up the seats. The customer had sourced two second hand OMP race seats in
good condition for a good price. The bonus was the seats also came with alloy rails and mounting plates.
The job of actually fitting the driver’s seat to the factory rail was fairly straight forward. A new set of of high tensile bolts and nylock nuts (where required) finished off the driver side install.With two different drivers of different heights using the car, a fixed position seat was not going to cut it. The early decision was made to use the factory seat rail adjusters to allow for change of drivers. The rails were easily unbolted from the standard seats and stripped down to make two flat and level surfaces.
 The navigator’s side was not so easy. The easiest way to fit race seats into a rally car is generally to weld in at least one seat mounting bar (usually for the rear mounts) between the tunnel and the inner sill on each side of the car and then bolt the race seats to the factory cross member at the front and the new bar at the rear. In this car, the factory seat mounting points were used. Hyundai has taken the liberty of making all the factory seat mounting points at different heights and spacings. This made it a little trickier to get the co-driver’s seat into position.
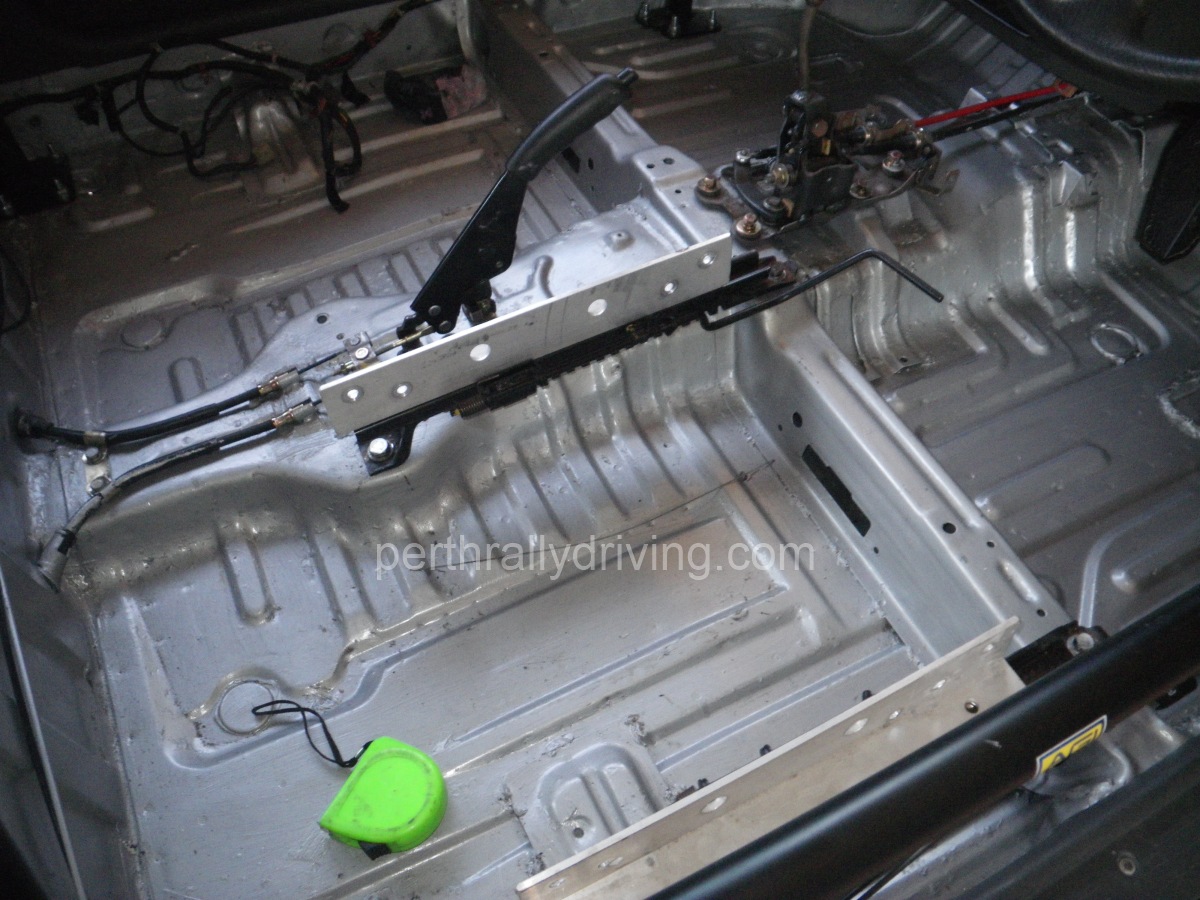
Once the seats were fitted, the floor was marked and drilled to mount race harness eyelet plates. The plates are a CAMS requirement where a seat belt mounting point is required and not factory fitted. In the Excel, the seat belt buckle is mounted to the front seats, therefore a plate was required on the tunnel on both sides to mount the inside straps and plates found their way under the seats to pick up the crutch straps. The Customer supplied us with Velo 3” wide, harnesses that came in a kit with a document pocket, tow straps, spare wheel mounting strap and a helmet hammock.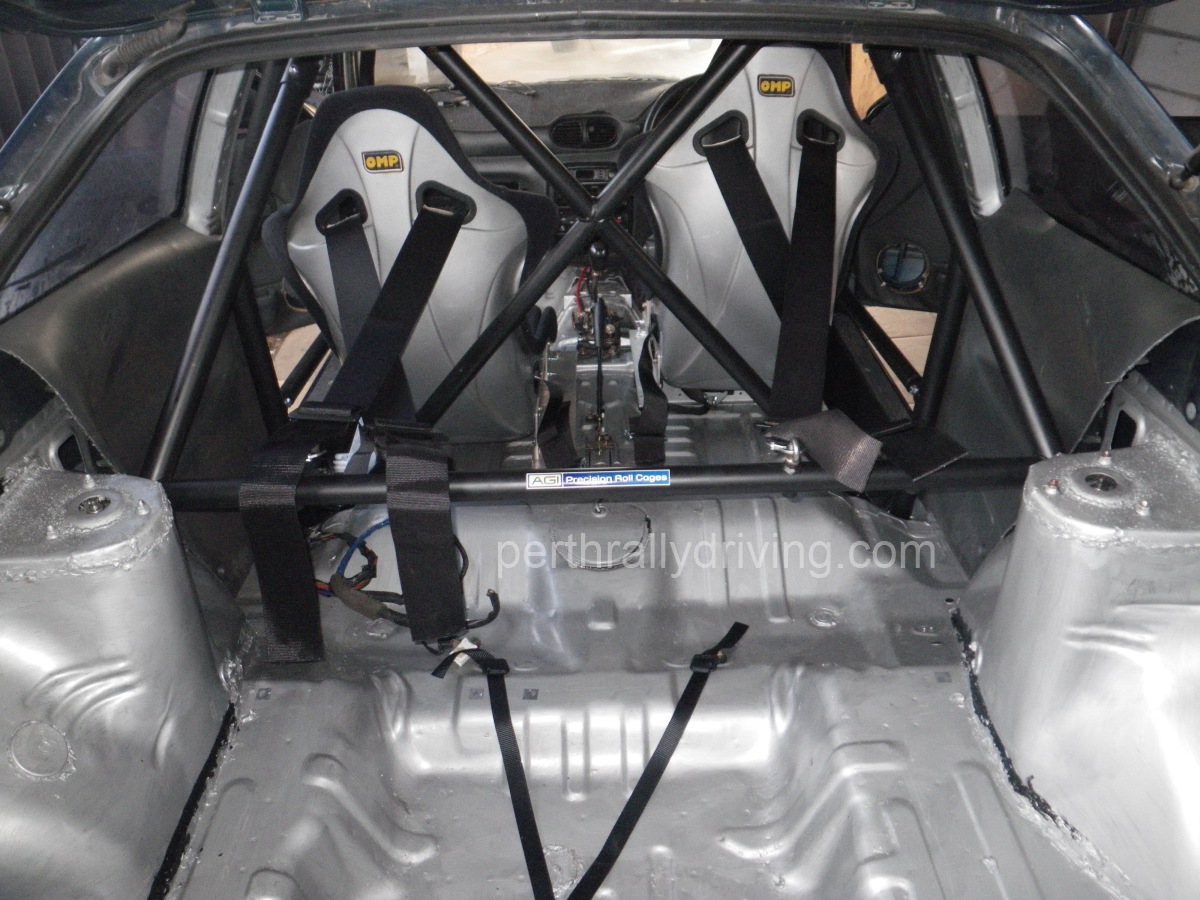
Apart from the tow straps and document pocket, the other items all found their way into the car with the harnesses.
2 x 1kg fire extinguishers were also drilled and bolted to the floor in front of both seats. There’s plenty of places they could be mounted in a rally car, however this location gives the best access if they are ever (hopefully never) needed. The trick with mounting the extinguishers is to position the brackets so as not to drill through any brake/fuel lines under the car or to drill into a chassis rail where you cannot get access to put a nut onto the bolt.
Under the front of the car, new mounts were fabricated for the all important sump guard. The X3 has an offset engine/gearbox cross member so
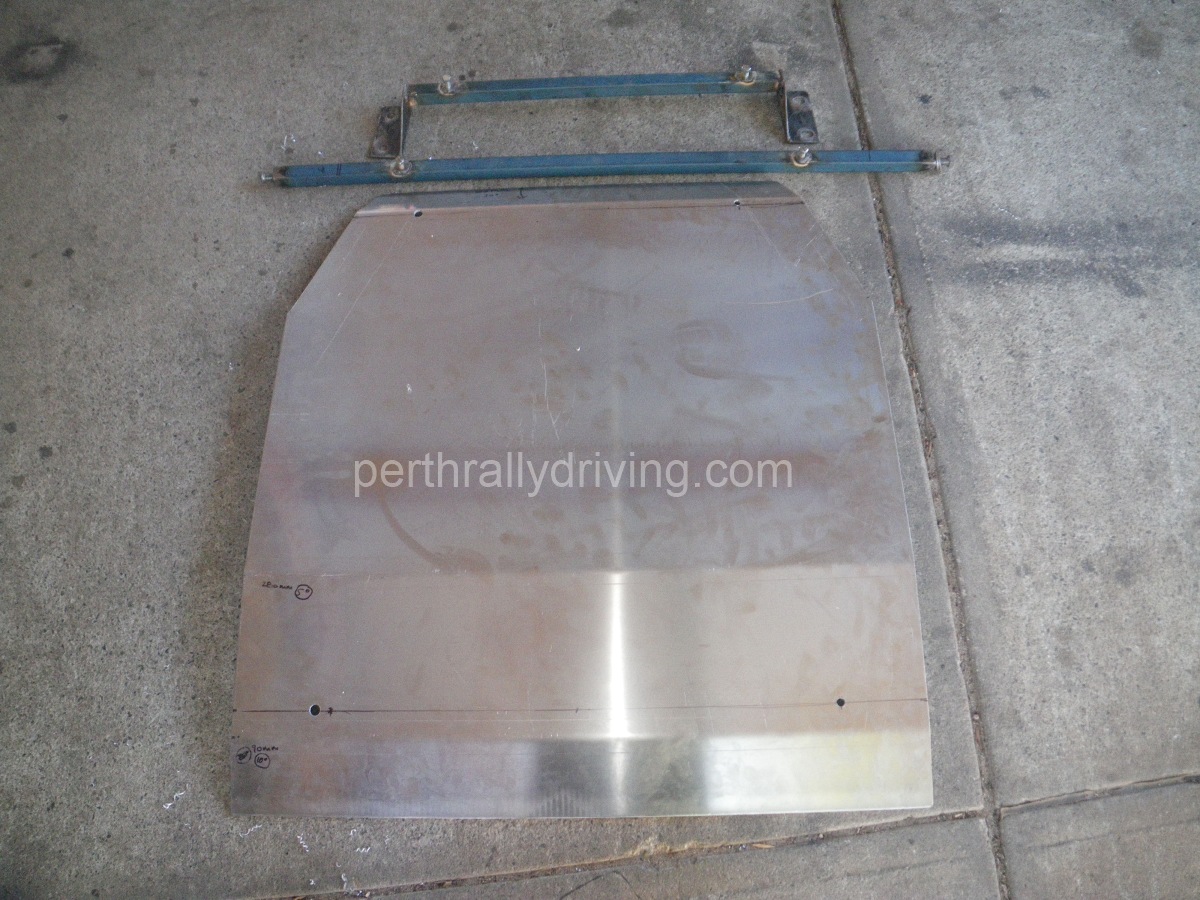
independent mounts were the best solution. The front mount is a bar that is fitted in place between the factory tow points. To fit the bar, the centre tow loop on the cross member had to be trimmed off for clearance. At the rear, another bar and mounting plates were bolted into position using the lower control arm mounting bolts. Captive nuts were drilled and welded into the bars to allow for easy fixing of the actual sump guard.
The guard itself is 4mm marine grade aluminium. The 4mm sheet is sprung and provides excellent deflection and is light weight. The tip with this grade aluminium is not to put any more than 45° bends in it as it can crack. On the Excel, there are only 3 bends required, the greatest angle being 30°. The guard has been designed wide and long enough to give good 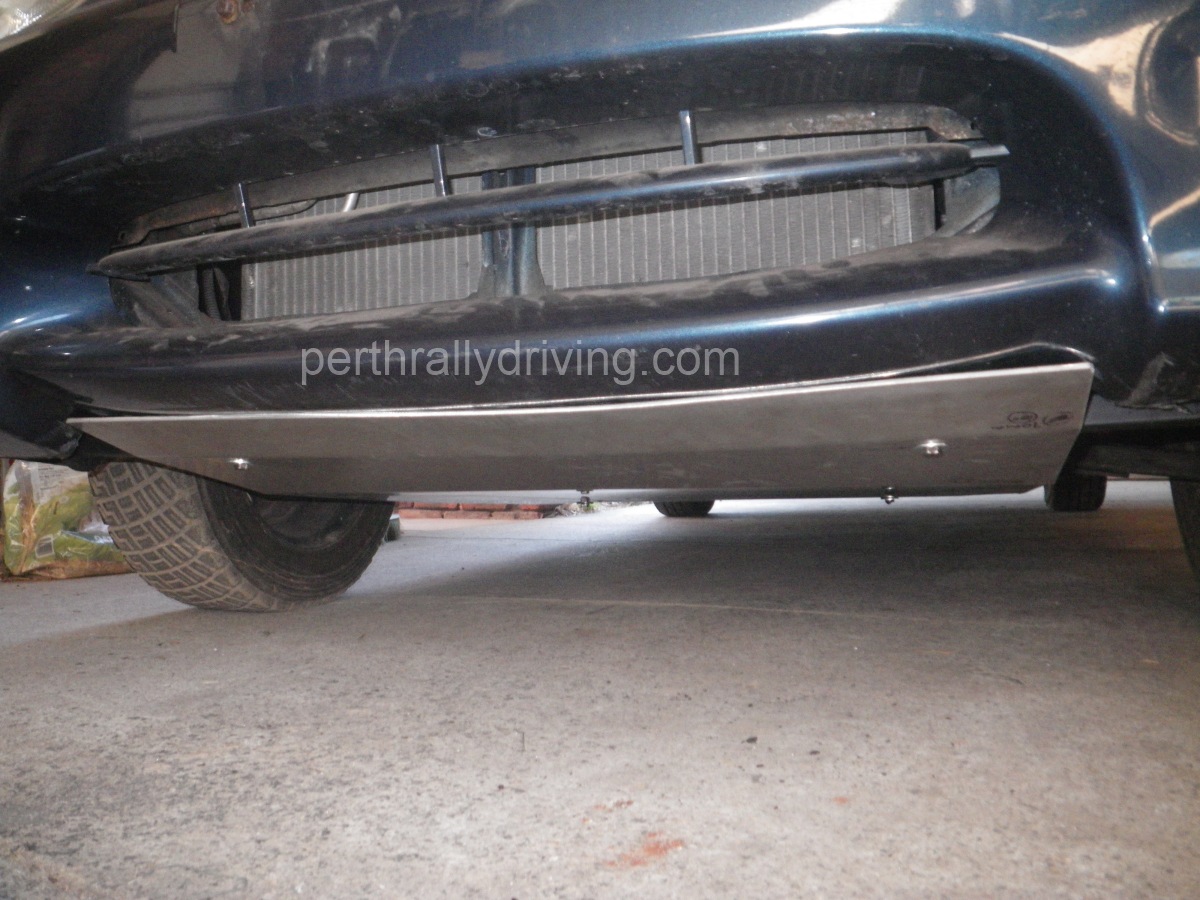 protection to all the crucial components at the front of the car.
After a test fit, the mounts were all given a good coat of paint and bolted in and then the sump guard was bolted into position.
The next items are to fit the Monit rally computer, intercom, raise the gear shifter and then get stuck into a coat of paint.
