Excel Build 4- Engine bay and interior
Soon enough the front end welding was completed, quickly followed with good beads of sikaflex to seal the seams (especially where mud and water may get in and cause rust) and a coat of rust protection mat black paint.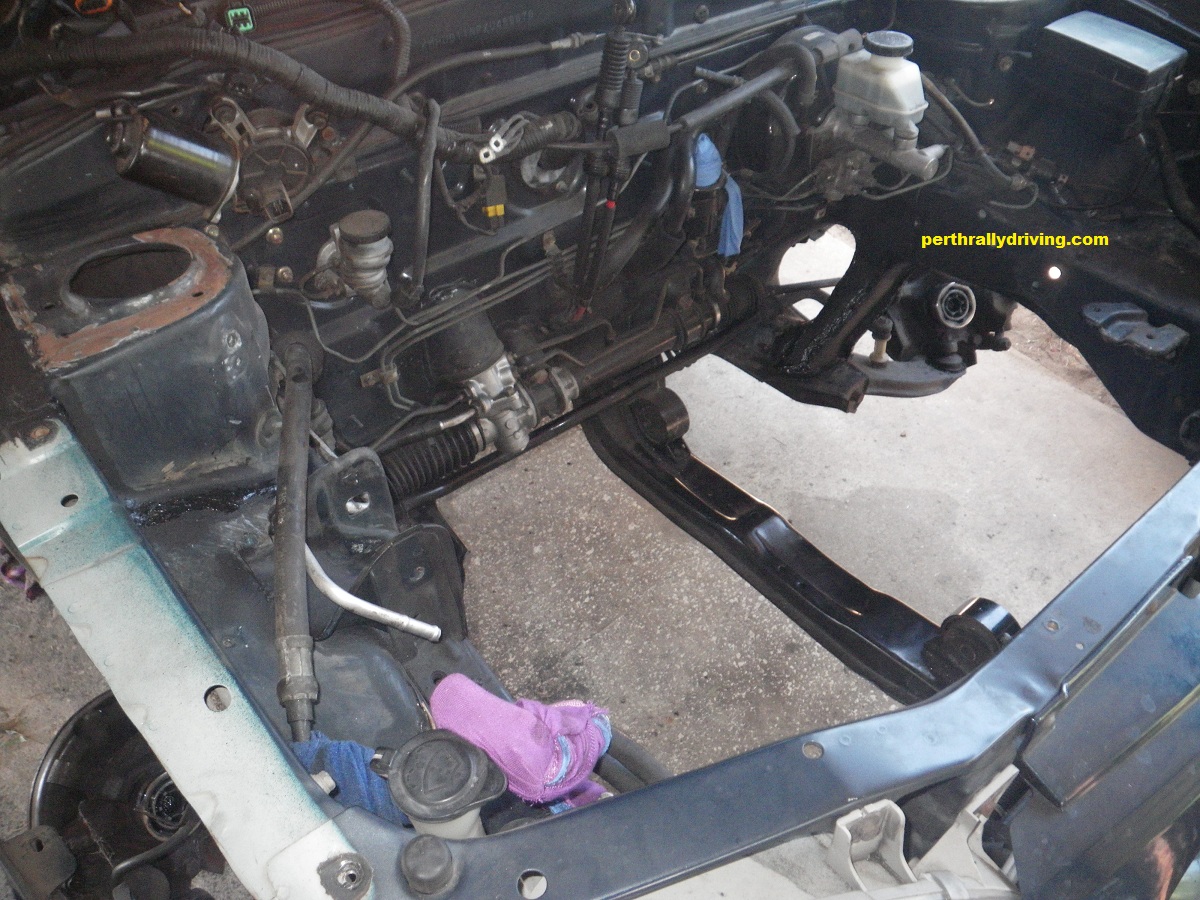
We dropped the engine and gearbox back in as a complete unit with two new engine mounts and reconnected everything. During the installation, we discovered that the fuel inlet hose from the filter to the injection rail was perished so we replaced it. New coolant, power steering fluid and synthetic gearbox oil were added before the battery was connected. The engine fired up as soon as the fuel pressure came up and ran smoothly.
 As the X3 engine has a MAP sensor fitted from factory, we were planning to remove the factor air box and filter and fit a pod style filter straight to the throttle body. After reading some forum posts on the subject, we decided we’d keep the factory filter set up. It appears that running a longer inlet plenum will help with torque which is what is needed in on a rally car, especially running standard internals in the engine.
With the front end taking shape, we tackled the fuel tank guard. As of 2013, we switched over to using HDPE sheet for under-body protection. The sheet is light weight, non toxic, easy to cut and work with and above all tough! Previously we have used Kevlar/carbon fibre to make under body protection. It is time consuming, messy and expensive. Also the blasting from gravel doesn’t take long to wear through the Kevlar and then we have to remove and repair sections. The HDPE on the other had will really take a pounding. One sheet of HDPE will easily protect the entire floor pan and sills of a rally car, plus the fuel tank and any other places we may need it with enough left over to cut 2 or more sets of mud flaps. In line with the build spec, the Excel received a fuel tank guard, slipped in between the tank and the factor retainer straps and will also receive HDPE protection for the sills, fuel and brake lines.
The sump guard however, will be constructed of aluminium as the HDPE is not rigid enough for the job.
With the weather hitting nearly 40° again, easy tasks are scheduled for the afternoon hours. The interior seams and bungs were all sealed with sikaflex before a coat of silver rust proofing paint was applied.
As I mentioned in the 180SX build, the interior colour is usually painted a neutral colour (light grey or silver) to allow for any changes to the exterior colour of the car. Black or white paint looks great when it’s new, however terrible after it has had mud and dirt in it. If the customer requests, we’ll paint the interior the same colour as the exterior of the car, using a spray method to get a uniform finish. Generally though, a couple of hours with a paint brush yields great results and makes for easy touch ups.
With any luck, the next post will detail the cage install. With the cage order placed before Christmas, the manufacturer had a couple of weeks delay in the new year to get production back up to speed and catch up on orders.
