Nissan 180SX Gravel Rally Car -Cage fit & Misc works
It’s been a couple of weeks since I posted on the 180SX build. This has been for a couple of reasons, mostly to do with the roll cage.
The cage arrived just before the weekend a couple of weeks ago and apart from a quick inspection to make sure all the parts were included, we didn’t do much else.
Instead we were at our venue preparing for the start of the Motorsport season and filming videos. Our primary aim was to get some aerial footage for our Rally Experiences and other Motorsport. As it turned out, the guy who had the aerial filming gear developed an oil leak in his car on the way to our venue and had to turn around and head back to Perth. Instead we used our cameras and made this video….
After the weekend we were stuck back into the 180SX and ready to get some serious build time invested. Before cage fitment started, the dash was completely removed which allowed access to the components behind the dash. More weight was stripped out by removing the A/C unit and removing some sound deadening along the firewall.
In a gravel rally car, the “Gucci” design is a full tower to tower, weld in roll cage. Fitting a weld in cage takes more time which in turn adds more cost to the build. For speed and budget, the 180SX owner had opted for a bolt in cage. Some people cringe at the idea of using bolt in cages for gravel rally. We have heard stories of why bolt in cages are not ideal, however we disagree with most comments. Having personally had a big high speed accident in a rally in 2001 using a bolt in cage, I know they work well. In our accident, the car was crumpled around the cage and we walked away and the cage was fine. Adding to this, over the last few years we have repaired several accident damaged rally cars with bolt in cages and the cages have not moved in the cars at all. At the end of 2011, one of the cars we were running in the team had a big off into a tree and stumps. That time the bolt in cage was damaged and the car was a write off, however both occupants walked away from the crash and a weld in cage would have probably suffered the same fate.
With the seam welding complete inside the car, we decided to weld in 2mm steel plates to the floor where the new cage pads would sit. This is a not a CAMS requirement, however as a bolt in cage was previously fitted to the 180SX, the floor pan had been weakened by the extra holes. The first task was to fit the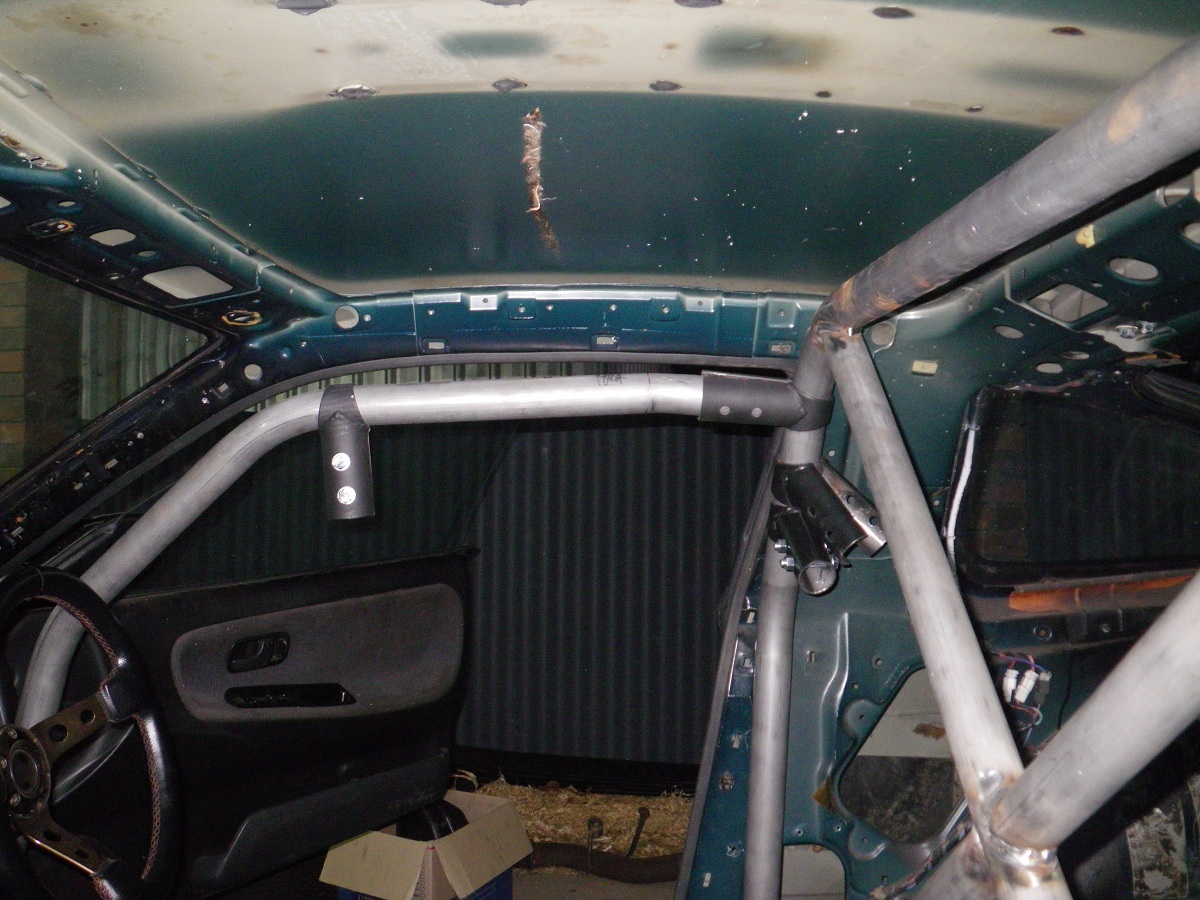 main hoop into position. No major hassle and the first couple of bolts were installed to hold it in place. Next task was to fit the front legs. This is where we ran into problems. They say a picture tells a thousand words, so have a look at the pictures. The front legs just looked far too low in the car. With the side bars fitted, short of being a jockey or a contortionist, there was no way to get into a race seat in the car. After some head scratching, we decided to see if we could raise the front legs and bring them up tight to the roof line
 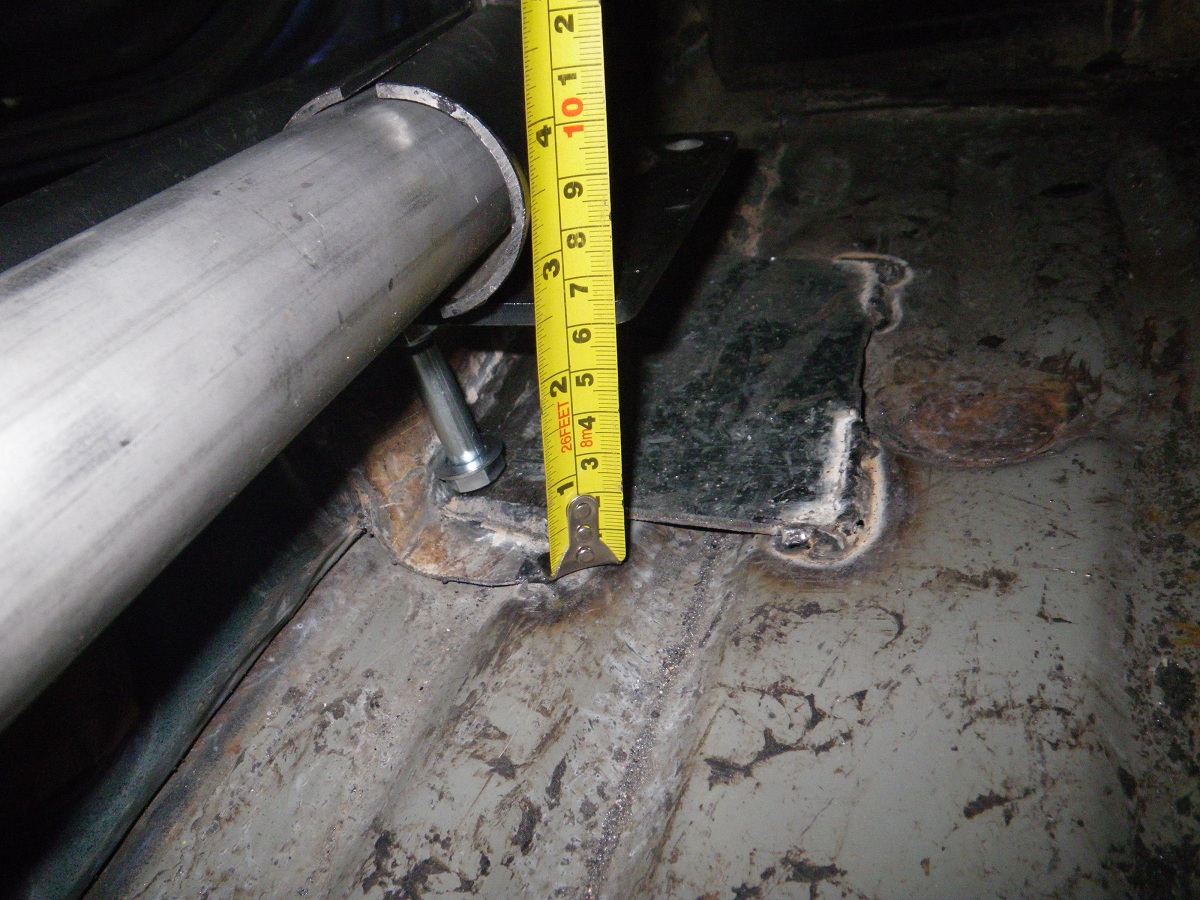 where we thought they should sit. It ended up the front legs seemed 60mm short. We took some photos and emailed the cage manufacturer whilst looking at other solutions.
The best we could come up with was to fabricate steel box sections with captive nuts for the front legs to sit at the right height. This is not an un-common practice. The OMP bolt in cage for the GC8 WRX’s are actually supplied with a weld in box section to mount the front legs tight against the sill.
Just as I had cut all the parts out and tacked the box sections together for test fitting, the manufacturer rang back. They thought they may have made the front legs too short by 60mm and would fabricate a new pair and freight them to us ASAP. The cage fitting would have to wait until the new legs arrived.
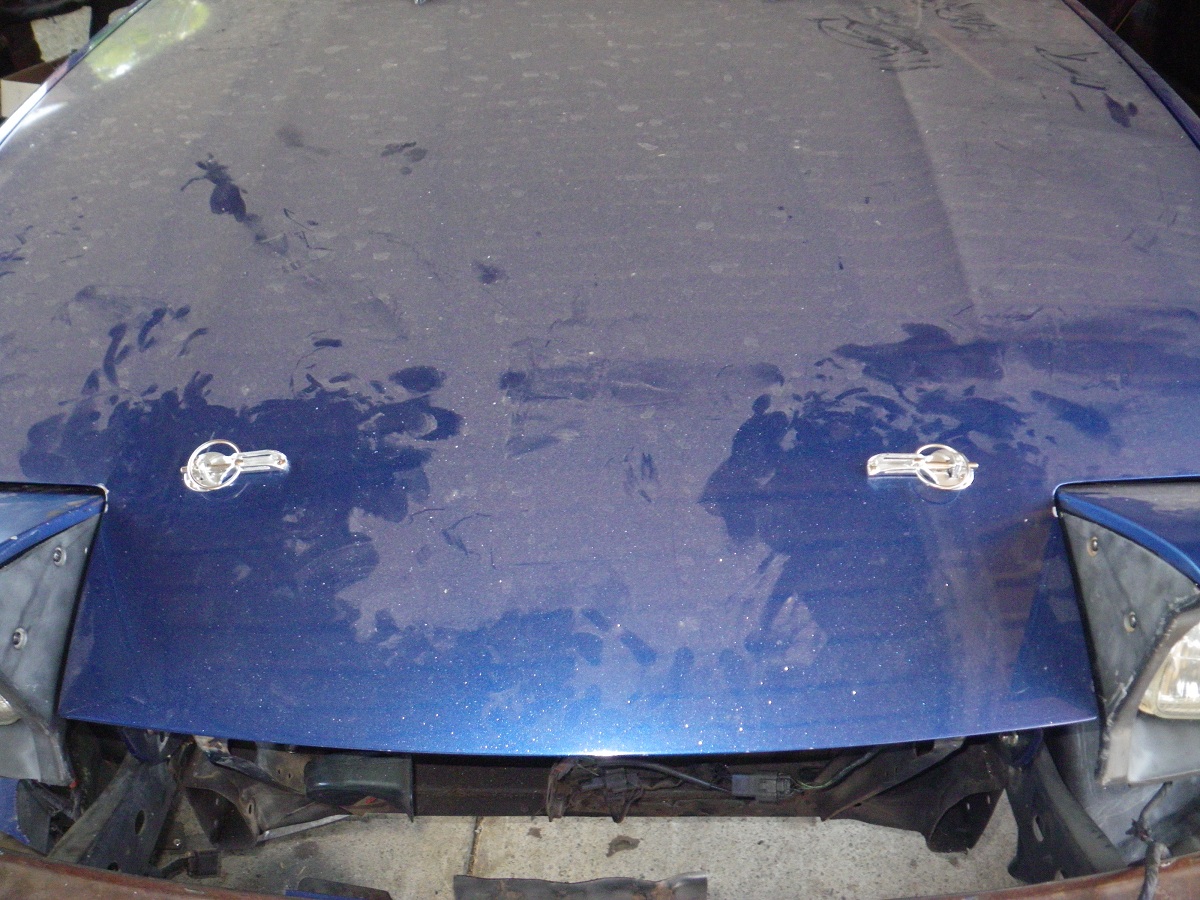
With interior work delayed, we turned our attention to other parts. First we fitted the bonnet pins. The pins we opt to use are a slide type which by modern standards are considered an old design. There are some new pins on the market now that sit flush with the bonnet and look flash, however are time consuming to fit and need to be precise to line up correctly. All well and good when the panels are straight. It would be interesting to see how easy it is to open or close a bonnet if the car had suffered a tap to the front end. At least with the pins we fit, we know we can get them on or off and having been around for a 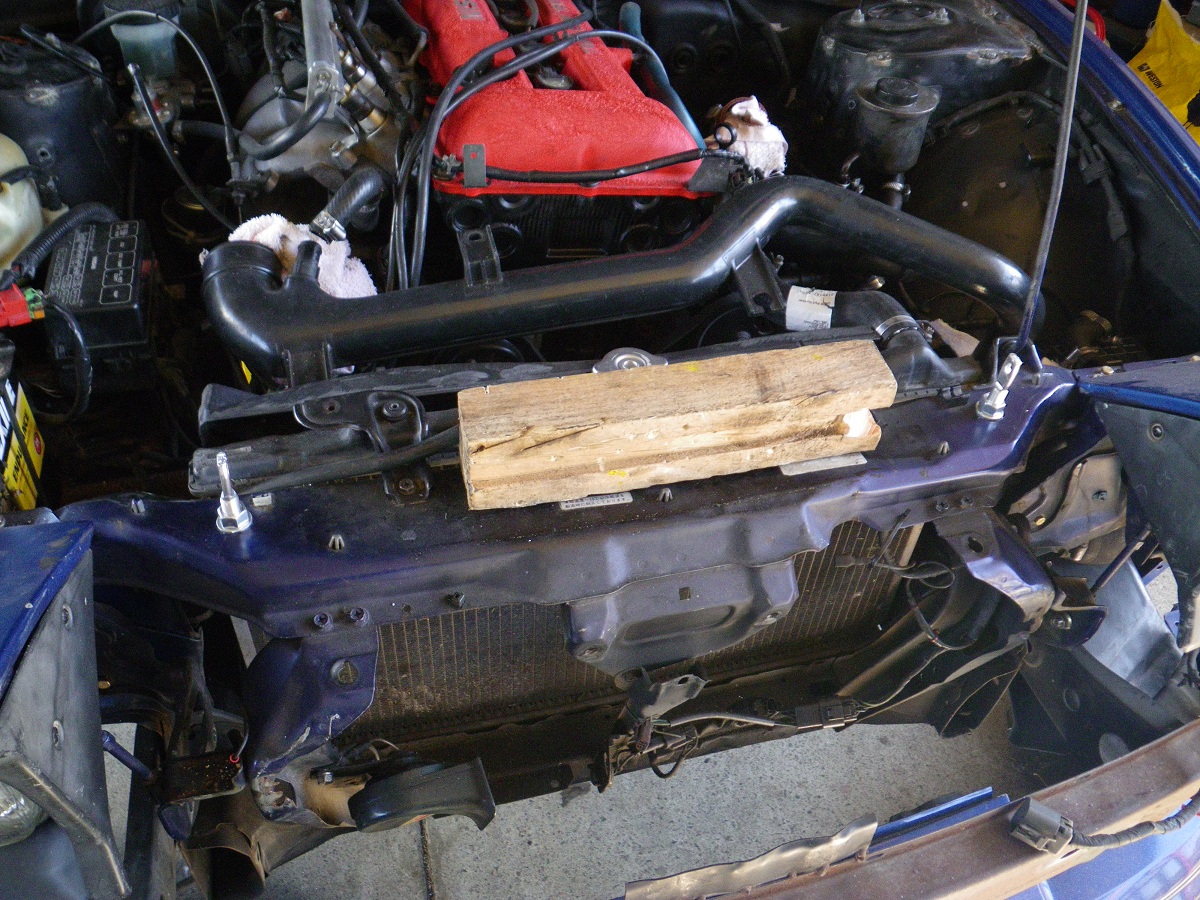
 long time now they are cheap and very reliable.
There are hard ways and an easier way to fit bonnet pins. Over the years we have perfected the easy way and now a set of pins doesn’t take too long to fit. The good news is by using the bonnet pins, a few more grams can be removed from the weight of the car by taking out the bonnet release mechanism and latch. The rear hatch will also receive similar treatment.
At this stage the pins are temp screwed to the bonnet as they will be removed before the car is painted.
Next up we tackled the seat mountings. Anyone that has tried to fit race seats to an S13 will know what fun this is. We had to take several measurements and carefully look at how to tackle the mounts. The standard seats have different height mounts on each corner and the passenger side floor has a large curved section to facilitate the clearance for the cat converter under the car.
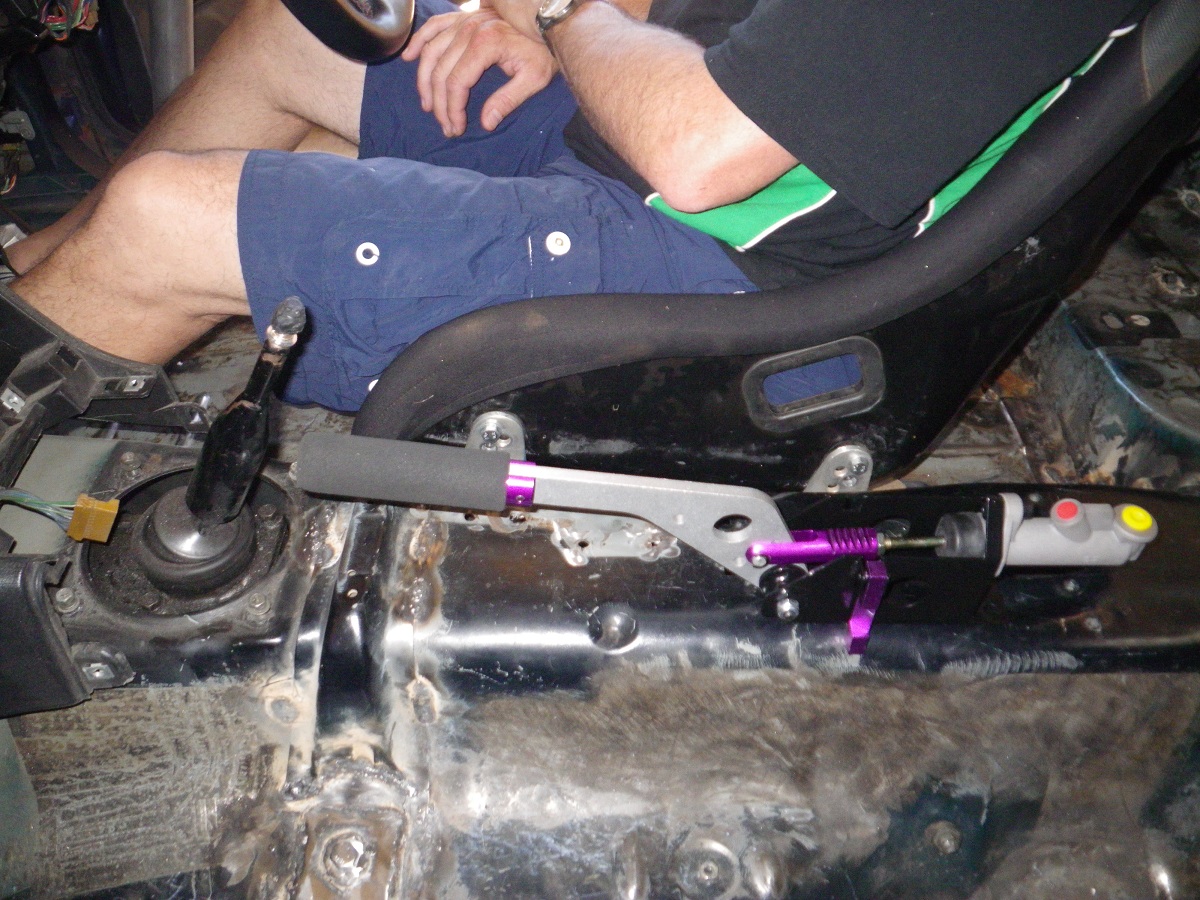 In something like a Commodore, welding in seat mounting tubes or fitting higher seat mounts to clear obstacles is easy. The Commodores have plenty of space and clearance and you need a high driving position to see over the long bonnet. In the 180SX, it is a different story. We had to be conscious of the clearance to the cage, particularly the front legs. The room is tight in the cabin and the seat mounts need to sit as low as possible. We came up with the idea of utilising the factory seat cross member, however it was cut down on the tunnel sides and 2mm steel plates with captive nuts were welded in place to get the mounting points parallel. This design as least means the front of the seat rails will sit at the same height on both sides of the seats. The rear mounts will be bolted to the factory mounting points, however we may need to make up some custom spacers and use longer high tensile bolts to get everything parallel. Whilst checking the seat mountings, we also checked the position of the hydraulic hand brake and brake bias valve for correct position. These itmes will be fitted to the car and plumbed in once the cage is installed and the interior painted.
With still many items on the list to be completed, some mechanical tasks were tackled. Whilst sorting out some interesting heater pipe work around the back of the head in the engine bay, it was discovered that some nuts and bolts were missing from the turbo. The Dump pipe was held on by 3 of the 5 bolts needed and the turbo had 3 of the 4 retaining nuts. It was good to find these issues now and not on a rally when the turbo or exhaust had come loose. Predictably, the missing nuts and bolts were the difficult ones that were harder to access. We fitted new nuts/bolts and spanner checked everything to make sure they were tight.
Into the rear of the car, the fuel pump was next on the list. Finding some forum posts from a previous owner, the fuel pump had supposedly been replaced with a larger unit. Fuel pumps are critical items we take no chances. A new Warlbro pump was sitting on the bench and we pulled the old unit out to inspect and replace. It did turn out that a substitute race pump had been fitted. With no way to confirm the age or condition of the pump, it was removed and put in the spares box in case an emergency pump replacement is ever required on a rally. In practice, we usually replace fuel pumps once a season anyway. 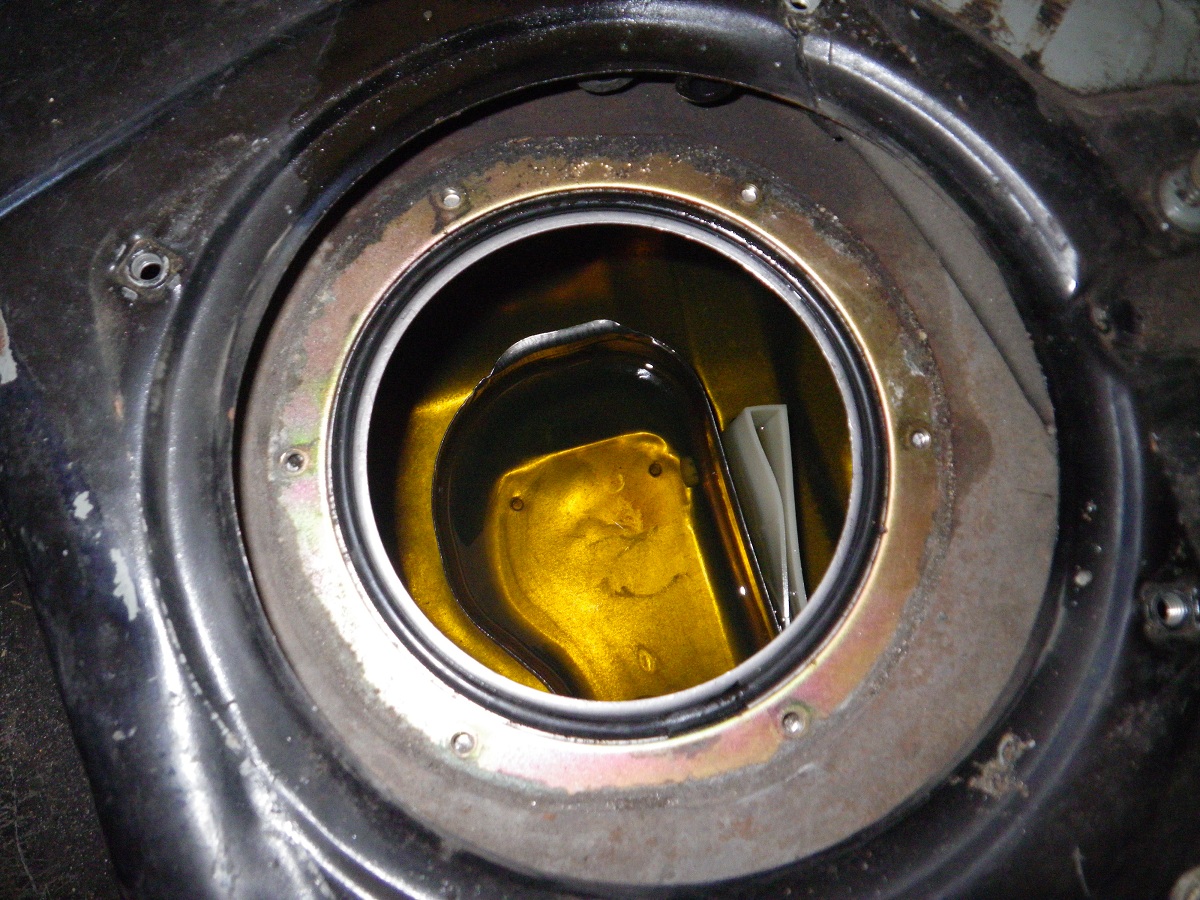 The vibrations and shocks in gravel rallying can easily wear out the innards of a fuel pump and a new pump is much cheaper than a blown motor from leaning out due to low fuel pressure. Whilst the pump was out, the fuel tank was inspected inside. We were happy to find a clean tank and the factory swirl pot firmly fixed into position. For our first look inside the Nissan fuel tank, it was good to see a decent sized swirl pot. The early WRX’s didn’t have a great swirl pot in the tank and to counteract the issue, we don’t let the rally cars leave service without at least ¾ of a tank.
Replacing the fuel pump was straight forward, however we had to take care of some bodgey metal work. To fit the larger pump, the factory pump support had been twisted by a previous owner. The angle was sharp and the bent steel was rubbing on the fuel pick up at the base of the pump. The support was cut back and filed smooth. The steel outlet pipe above the pump had been roughly cut to fit the larger unit. Sharp burs had scored the inside of the rubber hose connecting the pump to the outlet line. The steel outlet line was also filed back smooth before a new hose and clamps were fitted with the new pump. These issues may seem minor and not worth the effort to sort out. In competition, we don’t want to be chasing fuel surge or fuel pressure problems from a tiny split in a hose or pick up inside the fuel tank. Little issues can turn into big problems down the track and take a lot of time to find and rectify if you don’t get them right in the beginning.
Next post will cover the spare wheel mounting and hopefully full fitment of the roll cage.
More build articles here
