Nissan 180SX Gravel Rally Car- Front End Works
With the cage ordered, we turned to the front end of the 180SX.
First was to address the front suspension bushes. We did receive with the car a set of unknown brand rose jointed adjustable castor bars. We feel that putting unknown brand, used suspension parts into a rally car is asking for trouble so we fitted a set of standard bars with Nolathane bushes. The adjustable units will end up in the spares box to be taken to rallies “just in case” The worn out front sway bar bushes were also replaced with Nolathane to aid with handling. With a myriad of performance suspension parts available for the Nissans, future developments may include a fully rose jointed front end. We’re going to wait and see how the car handles on gravel with the standard parts before any decisions are made. There is more work to be done in the front suspension, however that will be completed with the brake work.
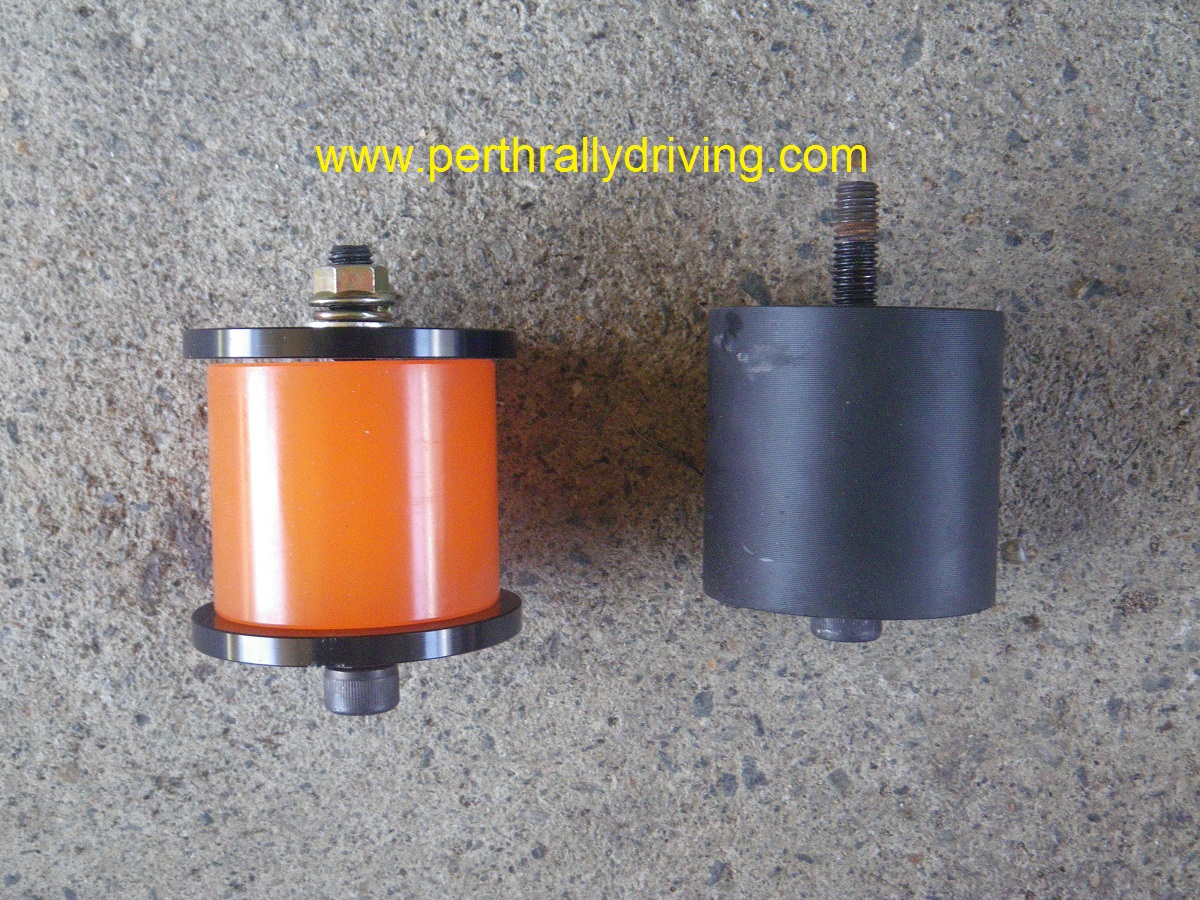 Next up the horrible solid engine mounts were removed. As soon as we got under the car we found both the engine mounts were loose!
 The bolt on the right side only had 2 turns of thread through the nut. Due to the way the engine mounts are set up, it would have been very easy for the bolt to come out and the engine mount to have completely fallen out of the car! That would have been interesting and no doubt led to some expensive damage. The new urethane engine mounts were a straight forward fit and compared to replacing Subaru engine mounts, the 180SX mounts are easy.
The urethane engine mounts should mean the car doesn’t need an engine damper,another for the development list if required.
Under the bonnet, the factory radiator, viscous fan and shroud were all removed. Viscous fans do fail and the last thing we want is overheating problems on a rally. The fan is easy to remove and the factory bolts retain the water pump pulley in place with the viscous hub removed. We followed the common trend and installed AU Falcon thermo fans in place of the viscous unit. To fit the S13 radiator, we had to hole saw out clearance for the top and bottom hoses and trim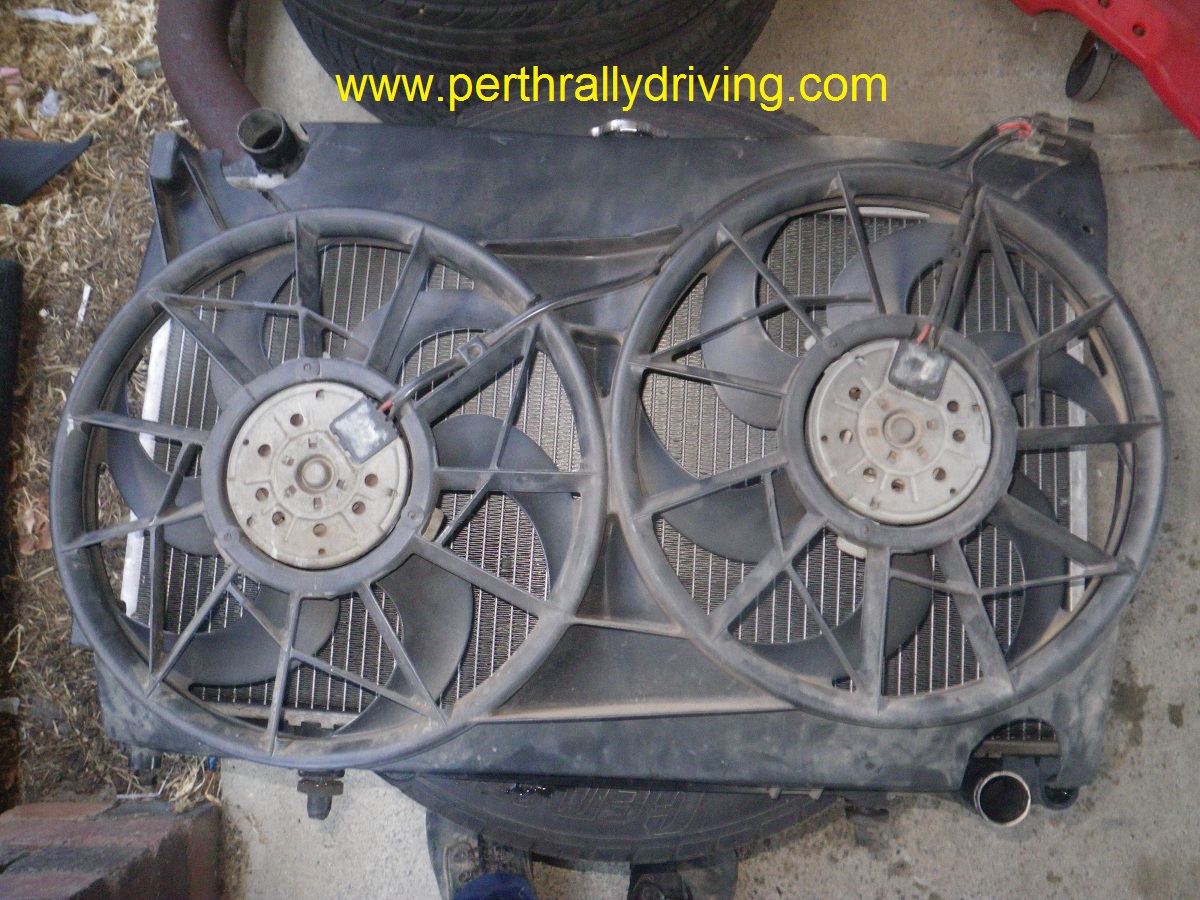 off some lugs. We also took the top lip off the thermo fans to raise the position slightly. With the Ford 4.0L having its top and bottom hoses round the other way to the SR20 engine, the fans sit a bit low with the top lip of the shroud left in place. After removing the top lip, the fans sit higher and the shroud covers the radiator perfectly. The two bottom mounting holes were used on the shroud and some neat alloy angle brackets were made up to pick up two of the side mounts. The whole unit is held firmly in place and will cope fine with the shocks of gravel rally. Using the AU thermo fans reduces the thickness of the whole assembly and provides much more clearance between the engine and radiator. To keep things simple, both fans will be wired through a relay and a manual switch on the dash. With the heat Anti-Lag generates under the bonnet, the two fans will run continuously to keep engine bay temps down. If we find the engine temp too high, we’ll also fit an oil cooler.
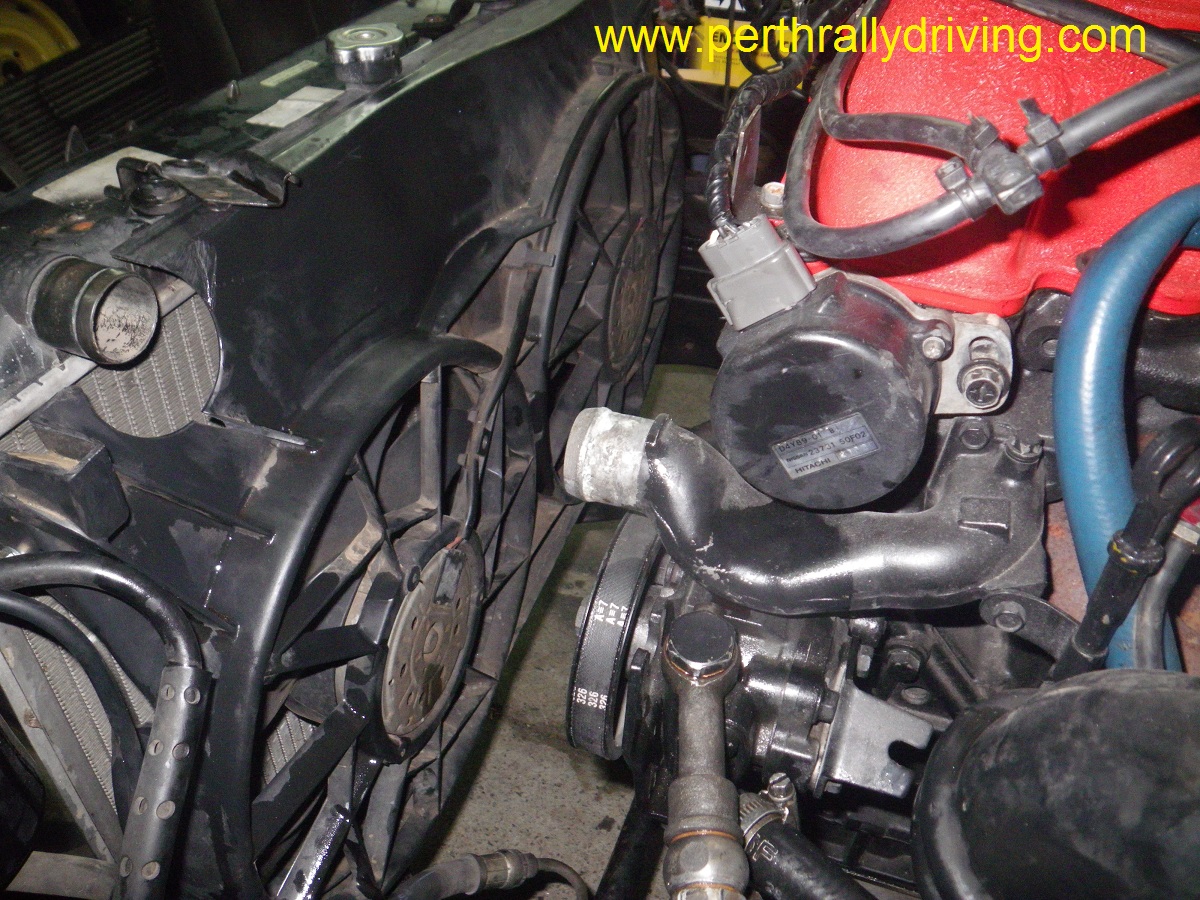 When we went to fit the radiator with fans back into to the car we ran into a slight snag. Whilst the new set up is much thinner, it is wider across the engine bay and doesn’t taper as much as the viscous fan shroud. The factory position of the pressure line to the power steering was fouling on the thermo fan shroud at the bottom on the left hand side of the engine bay. Luckily Nissan have designed the power steering line near the pump with 2 x banjo fittings at different angles. By loosening the nuts, we were able to angle the line away at the pump which provided some flexibility. Lower down a bracket holding the steering line had to be removed from a diagonal cross member, trimmed up and re-drilled with our Makita Cordless Hammer Drill. The bracket was then mounted off the front chassis rail to provide additional support to the power steering line. Whilst we were at it, we re-drilled another power steering line bracket which cured the problem with the power steering lines fouling on the sump.
Under the left side guard a factory side mount intercooler was installed in the car. With the intercooler loosely bolted into place, we soon realised that it would be easy for rocks or debris thrown from the front left wheel to cause damage. Searching around the workshop, we found an off cut piece of security 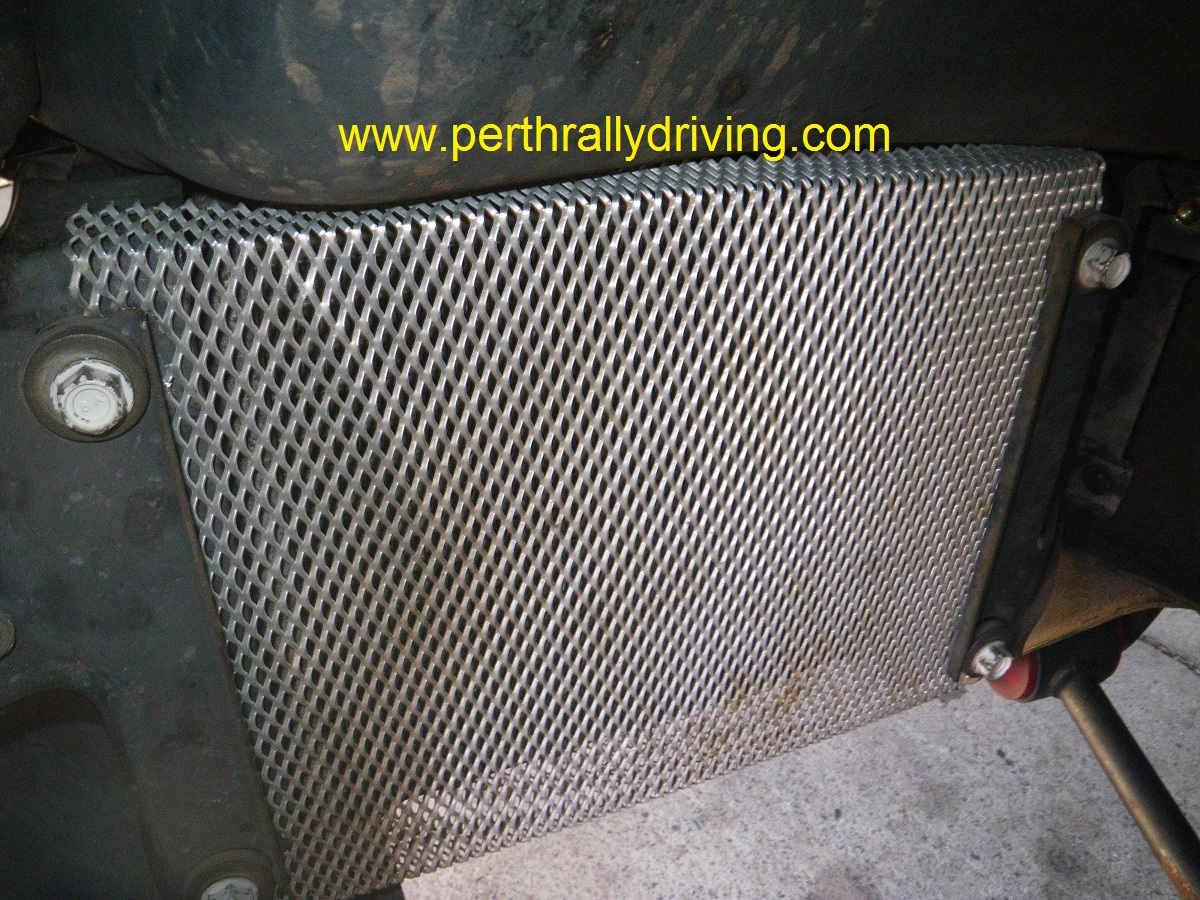 door mesh that was the right size to fit the intercooler. Security door mesh is cheap, fairly open weave (depending on the type you get) and strong. We have successfully used this type of mesh as protection on several oil coolers. With a couple of bends in the pan
 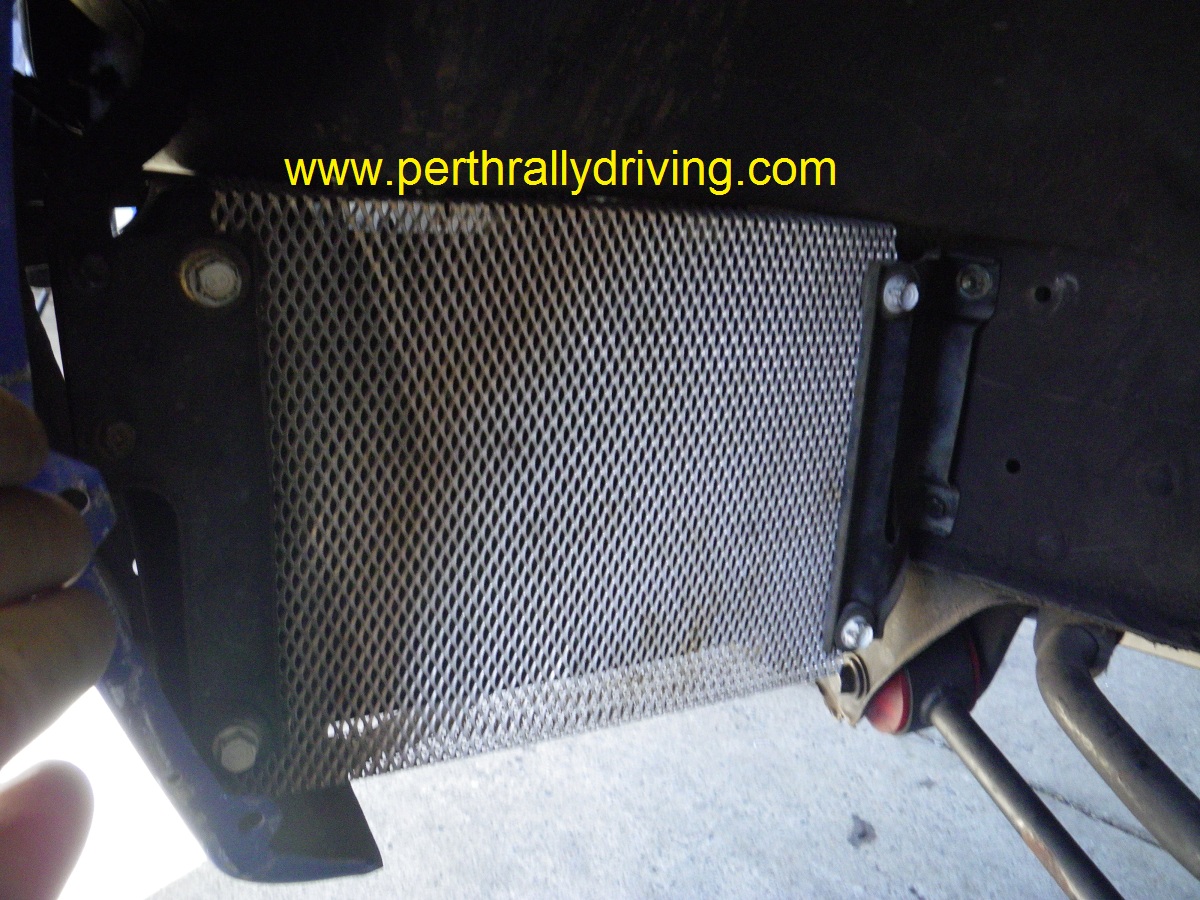 brake and reliefs cut to match the mounting holes, everything was neatly bolted into place. Rocks and sticks won’t be an issue now, however on wet and muddy rallies, we’ll have to clean the back of the intercooler each time the car comes into service.
With no luck yet in sourcing a standard set of intercooler pipes, it looks like we may have to make up the turbo plumbing with silicone hoses and alloy pipes.
If the cage arrives as scheduled, the next post will be detailing the cage install and continuation of the internal shell preparation.
More build articles here
