Nissan 180SX Rally Car- Interior works part 2
It has been some time since I had a chance to sit down and update the build on the 180SX. We haven’t been idle since the last post, in fact we have been putting in some big hours to get everything sorted. At the end of Feb we were at a car club Motorkhana and in early March we started running our Rally Schools for 2013. I also misplaced the camera with build photos for a few days as well.
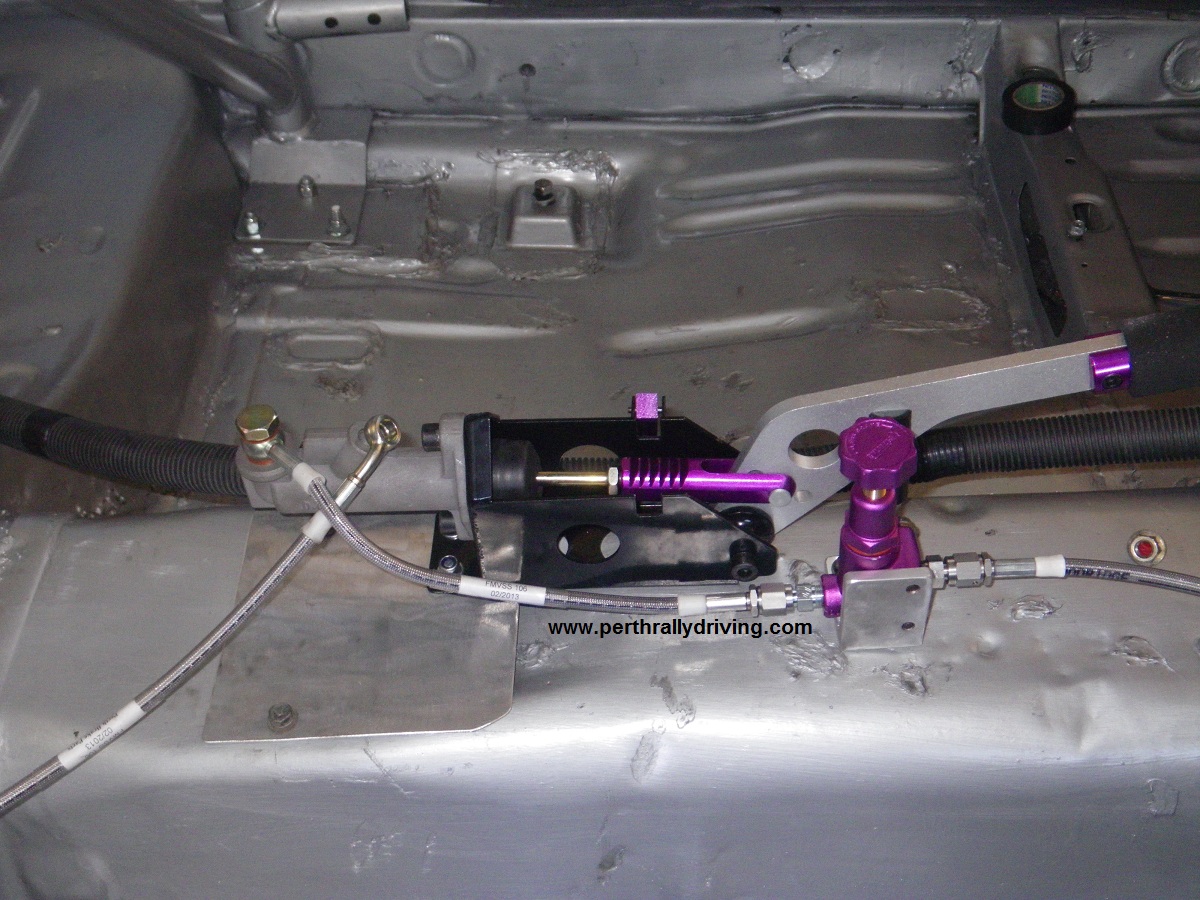
Following on from the last post, we fitted some braided brake lines from the master cylinder through to the brake bias valve, hydraulic handbrake and out to the rear wheels. We usually use one of 3 options when plumbing brakes, depending on the car, the customer and the time available. For the 180SX, we opted to have Perth Brake Parts make up the braided lines. We provided the lengths, sizes and fittings we wanted and the lines were made up within an hour. Flexible braided lines were the best option as it is easy to route the lines through the car when there are many bends and angles close together. On some cars we use normal steel brake lines, bend the lines to suit and flare the terminations. With the braided lines all bolted into place, we bled the system and checked all the fittings for leaks.
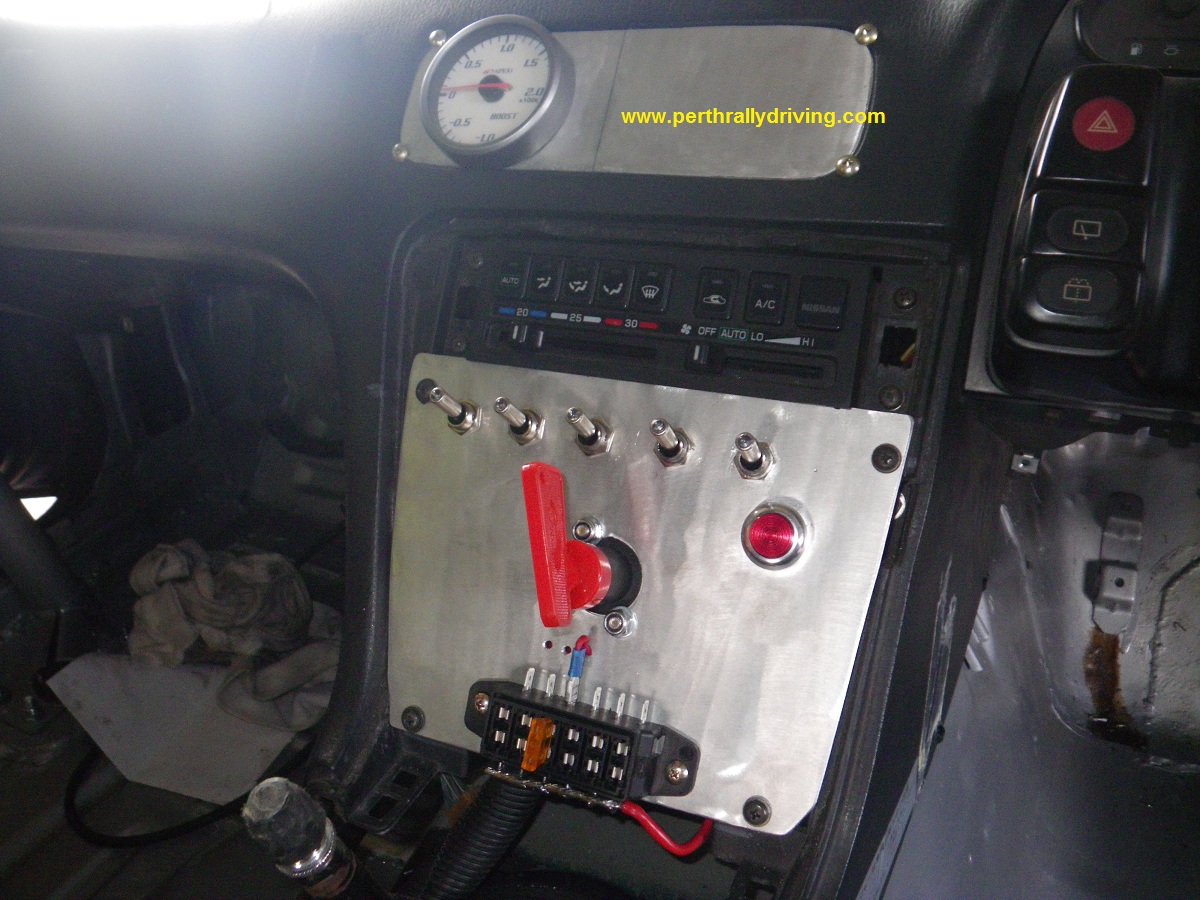
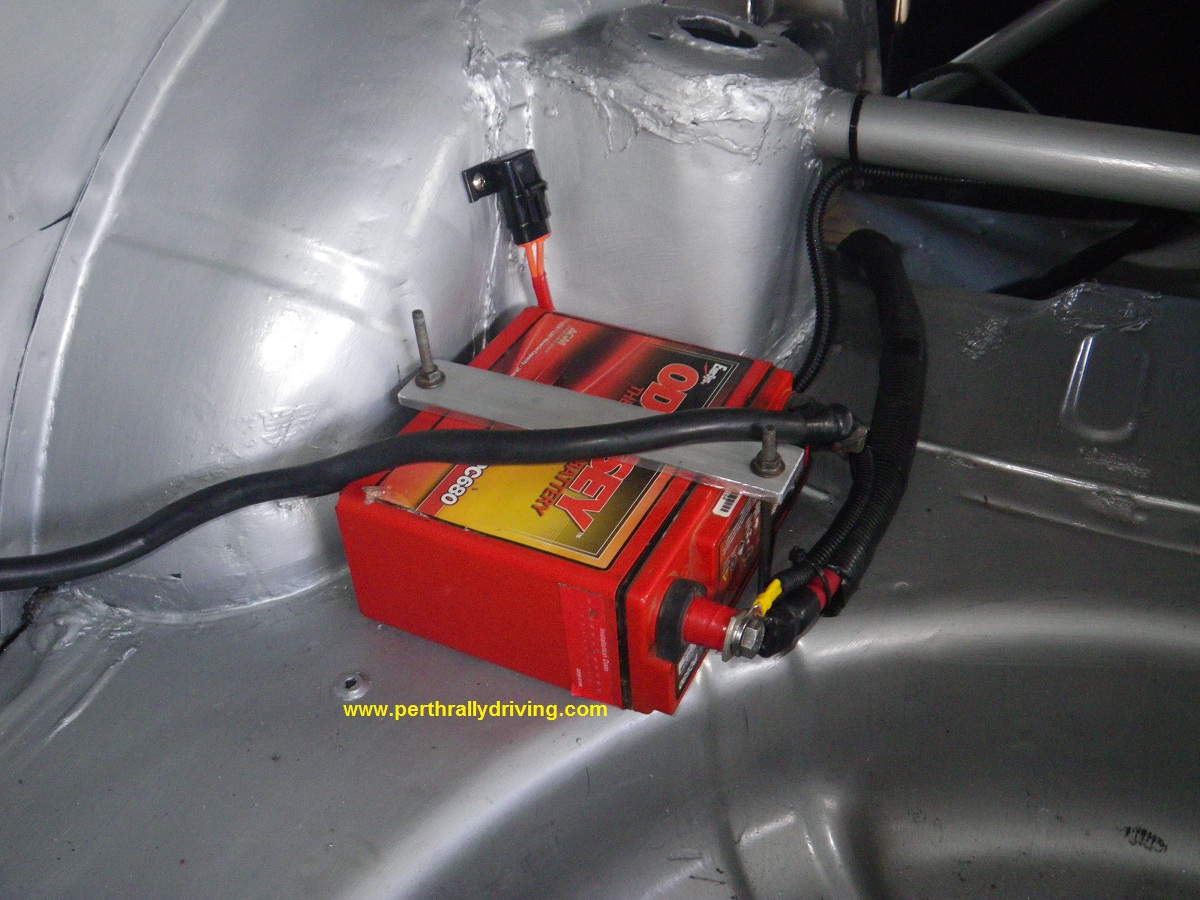 Next task was to turn to the electrics. We mounted the battery into position, fitted a clamp and terminated the battery cables. Wiring in the various relays and the switch panel took longer, however during other parts of the build we had already pre-wired and labelled so the terminations were straight forward. All of the convoluted tube was also fitted to the wiring to keep everything neat and well protected. Each circuit was tested and the engine turned over
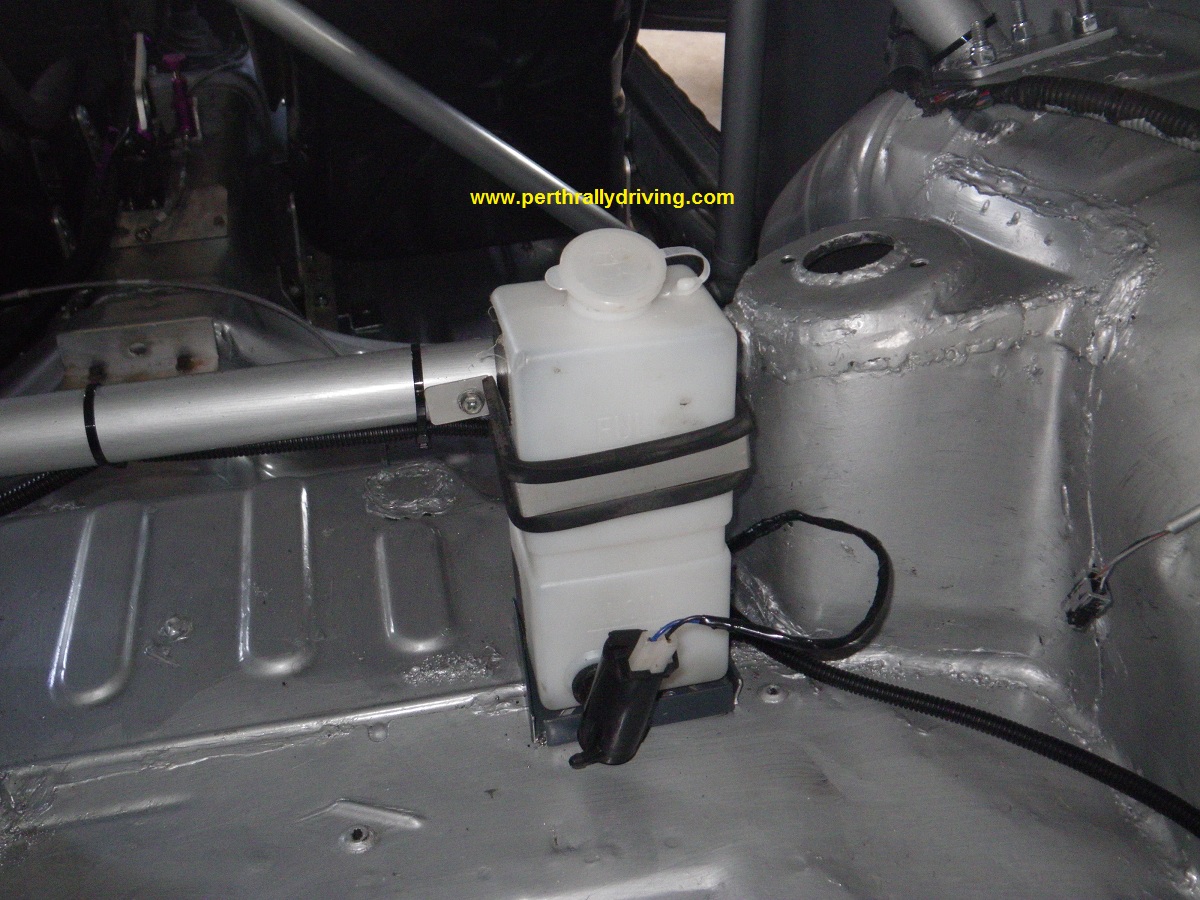
and test run for a couple of minutes to ensure correct output from the alternator through the new battery wiring. During the wiring, the washer bottle was mounted in the rear of the car and plumbed in. It may seem insignificant moving a
washer bottle, however it is worthwhile to get as much weight as possible centralised in the car. That is why the battery and washer bottle sit in the rear of the car and the spare wheel is mounted where the back seat used to be. With the hatch on the 180SX, it is easy to access the washer bottle to fill up during service.
All of the lines, pipes and wiring was either cable tied or retained in position using P clips to hold it all in place and prevent damage due to vibration or rubbing.
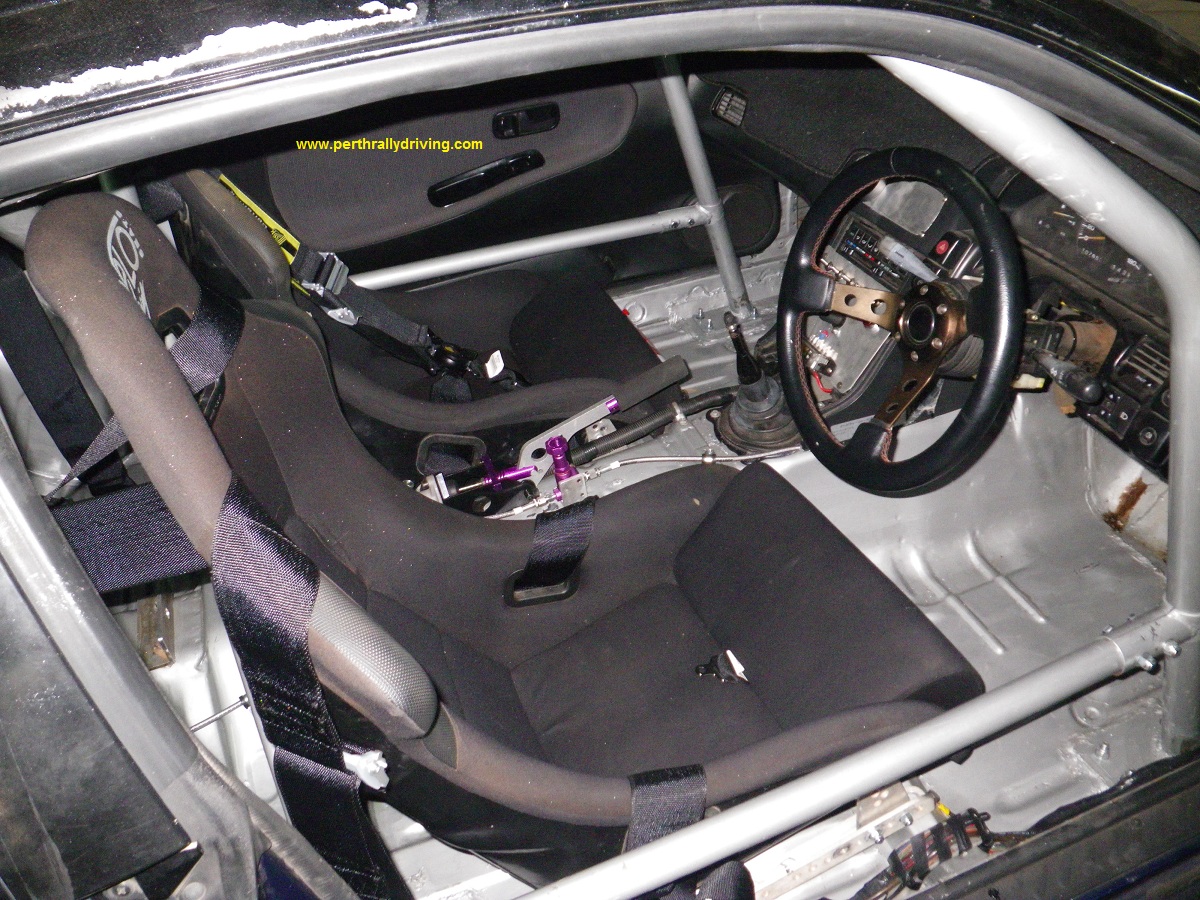
 We tackled one of the simplest, yet most time consuming tasks next. Fitting the seats. Getting seat rails and seats bolted into the correct position in a rally car is always a long job. In essence it should be simple. Drill holes, bolt the seat rails down and then attach the seats. Sounds easy until you add the factors of the roll cage, adjustment limits (due to the position of the roll cage) and the preferences of the driver and navigator. We had to guess the positions until we could get the driver & navigator into the car to test fit and then unbolt the seats and re-fit in the correct positions. In some cars there has to be a compromise as there just isn’t the space, especially for taller people. Luckily in the 180SX, we were able to get the positions perfect. Before installing the seats, seat belt mounting plates were drilled and bolted into position for the trans tunnel and crutch strap mounts. The S13’s have their factory seat belts mounted to the seats so new mounts were required for the race seats and harnesses. In the 180SX, we fitted seats that had been used in another rally car to reduce the costs over brand new items.
Whilst we still had easy access, the fire extinguisher brackets were bolted to the floor in front of the driver and navigator seats. Under the CAMS rules, any car manufactured in the year 2000 or later (or competing at National level or above) must also be fitted with a fire extinguisher bomb.
With the 180SX manufacture date well before 2000, no extinguisher bomb is required.
We then turned our attention to installing the side intrusion bars on the roll cage. Unlike a weld in cage, the bolt in cage gave us the option to fit the bars much later and at least provide access for internal fit out. This was a welcome change from the normal contortions required to get at a difficult seat mounting or harness bolts etc when a weld in cage is fitted.
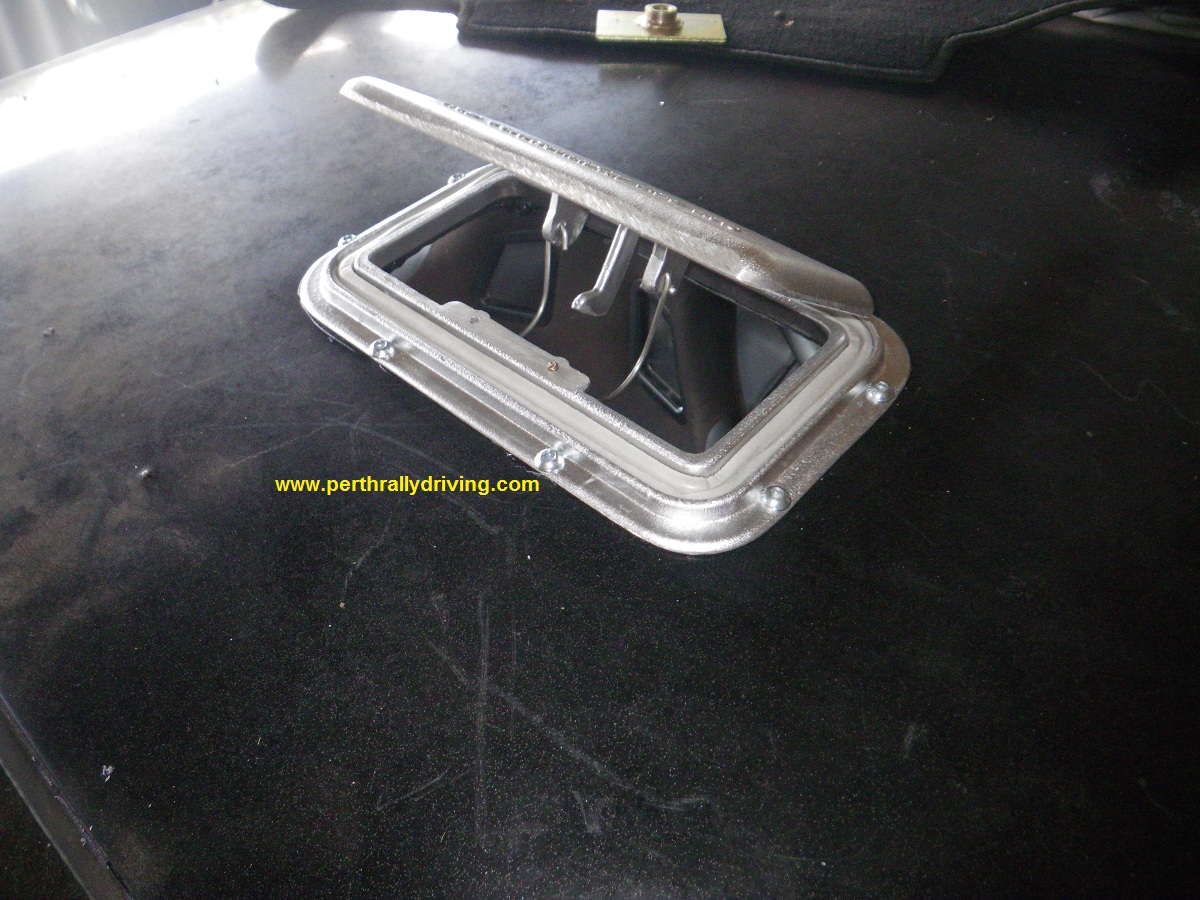 The small list of remaining items were completed to finish the interior works. First we fitted an aluminium roof vent. Roof vents are used to provide cool air into the cabin as competitors are not permitted to drive with the windows down. The roof vent also pressurises the cabin to keep dust out and when going quickly enough, rain will not come in either. New harnesses were fitted and loosely adjusted, an Apexi boost gauge that came with the car was fitted as well as the first sections of roll cage padding. Recent changes to the padding requirements mean that we will need to add extra padding before the car competes on its first rally.
At this point the car was taking shape and looking like a competition car, not just a pile of parts on the workshop floor. The next post will cover under bonnet and external items.
More build articles here
